4-6 : Animated Web BannersWhat is a Web Banner?
So, you have a business, or an event, or a product that you want to promote on the web... you can hook up with Google.com or Facebook.com which both offer successful programs. There are and have been many others out there but they don't seem to stick around long and these are the most popular. We use Google, so I will focus this tutorial using their specs. Let's make an Animated Web Banner...
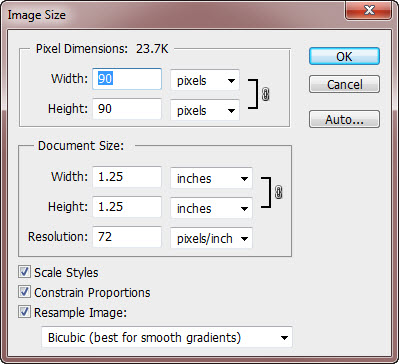
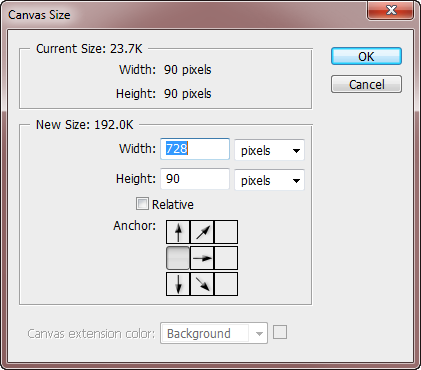
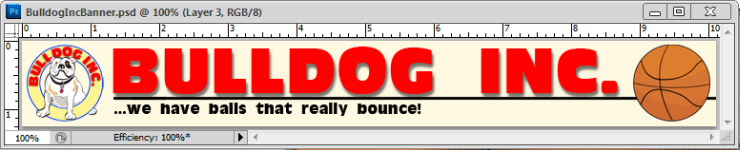
Web banners can be used for advertising or for website headers, etc. so lets make a 728x90 Leaderboard for our company website, Bulldog, Inc. There are a couple of ways to do this, we could begin by starting a new page in PS (CTRL+N) (Making the width 728 pixels x 90 pixels high. We'd want this to be RGB because this is for the web. And we don't care what the Resolution is because we have already set that when we specified the size in pixels. Nor do we care about the background color or transparency at this point, because we will be working in Layers (2-1).) We would then copy and paste all the parts a pieces from another file into it, so that you can animate it again. Sometimes this is faster, sometimes not. Or, we could open the logo file that we saved in Tutorial 4-3 and animated it Tutorial 4-4 (Which already has all of our hard work done) and change the size of the canvas... we're going to do that instead of redrawing everything- that would be silly! And one of the reasons that we save everything that we do as a raw PS file. Soooooo, you didn't save it, you say? With the file open, we will change the size of it. Right now it is 300x300 and we need it to be 90 pixels high... navigate to Image>Image Size... from the Menu Bar. Once that is changed to 90 we need to change the width. Image>Canvas Size... and we will change the overall length to 728, pushing the image to the left.
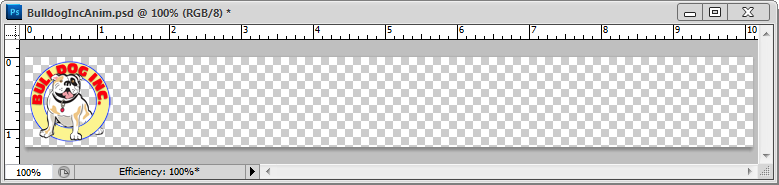
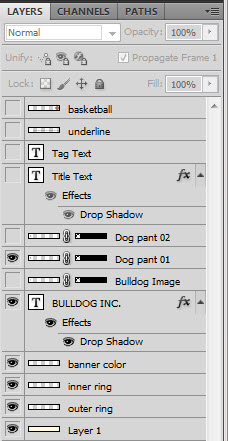
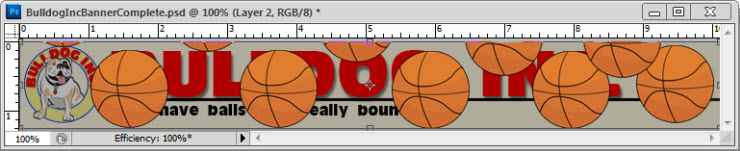
You should end up with this... As with the animated GIF we made in Tutorial 4-4 (Actually, all this banner is, is a large Animated GIF) we need to make the pieces and parts before we can start animating anything. I have laid out my project to look like this... You can, of course put whatever you like for the text.
Now select the second Frame, and turn OFF the Dog pant 01 and turn ON the Dog Pant 02 layer. If you hit the "Play Button", you will see the dog panting... We'll adjust this later after all the frames have been added
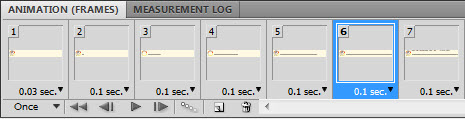
(I'm working in the Frame View of the Animation Window) In each of the frames (remember, we're starting the line in the 2nd Frame), you'll turn the first of the Underline layers ON, the others OFF... do this for each consecutive layer until you reveal each line, in order of length.... I set my Duration for each Frame at 0.1 sec. you can adjust this time and see what works best. We should have 7 Animation Frames now, with the line starting in Frame 2 and ending in Frame 6, we'll leave the last underline image on now until the end of the complete animation.
With the underline done, we'll drop the Title Text in from the top. With Frame 7 selected, turn the Title Text Layer ON and move the text up and off the screen. This is the starting point of the animation. Duplicate the Frame and move the Title Text down to just sitting on the line in your new Frame.
That was so much fun, let's do it again! Turn the Tag Text Layer ON and Add another Frame, this will be our 13th Frame. Similar to before, Move the Tag Text to the Right this time and off the screen in Frame 12. In Frame 13, Move it to where you want it to end up (I made mine Justified Left with the Title Text). Select frames 13 & 14 and Click on the Tween Frames button and add 3 more Tweens.
The last thing on our list to add, is the Basketball bouncing in... we'll do that basically the same way, but we'll have more Key Frames because we'll be changing the direction several times. I'll leave that number up to you, but I used 10 Keys, 5 in the up position and 5 in the down. To make it easier to manage all the Key Frames and Tweens, it's best to do them, one motion at a time. Start by selecting the last frame in your animation, which should now be Frame 17, make two copies of it, the last one will be your Final Frame and we won't touch it again.
Keep doing the steps above until you've Moved Right across the screen (as seen above), ending with the last Frame that we made when we started moving the ball. That wasn't so hard, was it? If it was... Just drop the ball in like you did with the Title Text and call 'er good! One last thing... we have this panting Bulldog that is out of breath after the first few frames. We need to breath some life into him by turning ON and OFF the Pant Layers. I'm going to change the Visibility every 2 Frames, from Dog pant 01 to Dog pant 02 (you can Select Multiple Frames at once and change the Visibility of the Selected Layers at the same time). Also, you'll see below that I hold the last frame a little longer than the others to show the full message before starting the animation over.
SO, we are finished, we have a cool Animated Banner that we need to Save (you've been saving all along, right?). Navigate to File>Save For Web & Devices... (2-10) this needs to be saved as a GIF, I Reduced the color from 256 to 64 because it still looks good and less colors means a smaller file size (Remember the "No More Than 50K" requirement?). You can also change the Size, Looping Options, Transparency, etc. from here. You can also have full Animation Controls to make sure that any changes you might have made didn't adversely effect your Anim. If you find that your animation file size is too big in the end, Reduce the Colors and/or Frames of animation (Give the ball 3 bounces instead of 5, etc). Conclusion Reference Learn more about the history of Web Banners and why they came to be at http://en.wikipedia.org/wiki/Web_banner |
|||
<< Previous Tutorial |
Return to List |
Next Tutorial >> |
|
|
|||
 Now that we have everything ready- let's make it move!
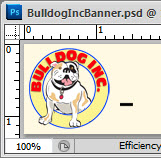 We're going to bring the Underline in now... So, with the second frame still selected, turn that Layer ON. You'll see that it is visible in the second frame but not the first. We want to expand that line from left to right, but you can't adjust the scale of an object in the timeline like MOST ANIMATION PROGRAMS! So we have to do it manually, which means add more layers of the Underline. The more that you add, the smoother the animation. I'm going to add 5 more Layers and 4 more Frames to the animation. So first we need to Scale the line on each layer horizontally (CTRL+T) to the left (So it gets longer from Left to Right). Basically, you divide the length into 5ths, making each layer a little longer than the one before.

 Now select both Frames, 7 & 8 and we will add Tween Frames (That's the little button to the right of the player controls

Owned and operated by The Art Department, Chester, NE |
Last Update: |