2-8 : Patterns; Making Fills and BackgroundsThere are several uses for patterns, but one of the most popular is as a "Fill". We talk a bit about this in Level 5-1 when making seamless backgrounds. For this tutorial we will use what we learned about "Object Brushes" in 2-7. We'll use the same brush "74" to add some maple leaves to the workspace. Then we'll make a selection and turn that into a background fill. Check out the video at the end of this tutorial for further explanation.
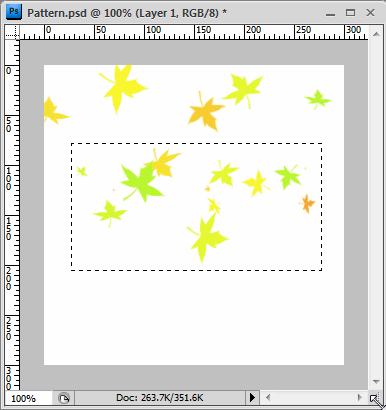
Lets start by opening a new page in PS. It doesn't mater what size it is, though lets give it a white background. Though you could make this any color, it will be the background color of your fill. (So you know, fills can't have transparent backgrounds.) OK, it's time to activate the "Brush Tool" and select the "74 Object Brush". Go to the "Brush Palette" and change the "Spacing" of the brush in the "Brush Tip Shape" settings to 150%. Leaving the other settings at their defaults, choose a fall color for your leaves. Draw across the workspace in quick short strokes to create a pattern, you might need to do this a couple of times to get the design just right, but it should look something like this... You'll want to be able to select an area without cutting off any of the leaves. If you do, you will have half leaves in your final pattern. This may or may not be the desired effect. Active the "Marquee Tool" and select an area of the image, as I did in the example to the left. (For a quick refresher on this tool refer to Level 1-3) Now navigate to Edit> Define Pattern...> a dialog box will open and ask you to name your new "Object Brush", I named mine "Falling Leaves". Remember the name, you'll want to refer to it when you are applying the "Pattern Fill"
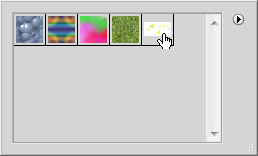
Once you click "OK" the pattern will be saved to the "Pattern Palette". Lets open a "New Page" now, then active the "Paint Bucket Tool" from the "Tool Bar". Once activated, navigate to the "Options Bar" across the top (see Level 1-8)
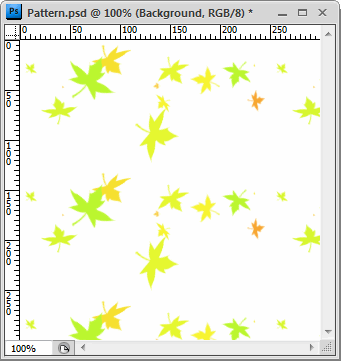
Choose the "Pattern" option and from the drop down menu, find the pattern that you just made and select it. You have other options here as well, but for now, we'll leave them alone. There are a couple of ways to "Fill" a space. One of those ways is to move the curser over the workspace and click, your new pattern will fill the page.
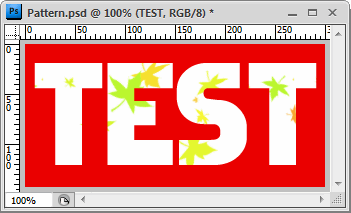
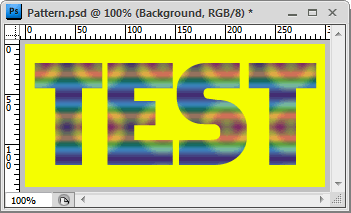
This is what your fill will look like when you use it. Try making an odd shaped selection and then fill it. Or maybe try filling some text with your new pattern. Though you can only directly fill text with a color, you can add a "Pattern Overlay" in the "Blending Palette" using your new pattern or any other pattern in the list of presets (see 2-2). Below I changed the background color and tried two different patterns, you can also add a shadow or outline to these to make them stand out more.
Conclusion Reference |
||||
<< Previous Tutorial |
Return to List |
Next Tutorial >> |
||
Owned and operated by The Art Department, Chester, NE |
Last Update: |
